Applying Meshes to a Relief
![]()
Modify relief surfaces with mesh objects.
Apply Mesh Dialogue
After activating the apply mesh command, the dialogue window will open. Several parameters influence how the mesh is integrated into the relief.
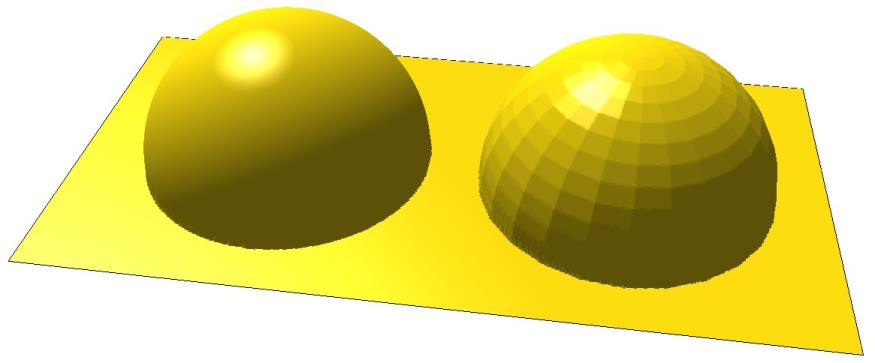
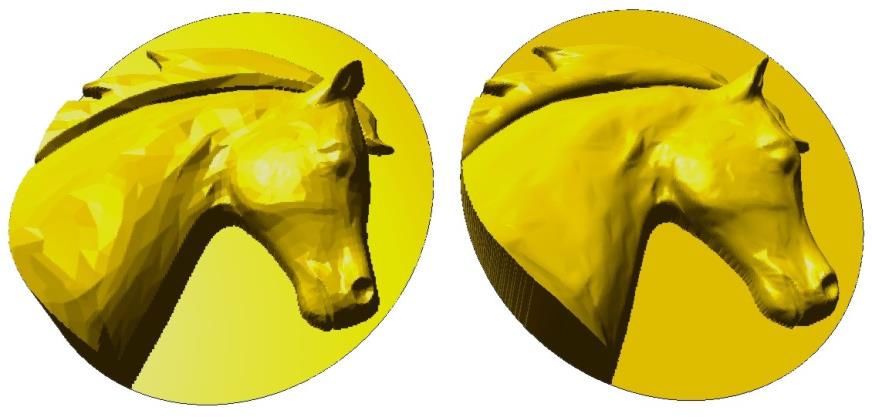
Faceted ![]()
Meshes are composed of facets, triangular sections that define the surfaces. Meshes can be applied to reliefs without modifying the mesh facets and will be visible in the final relief surface.
Smooth ![]()
Smooth out the mesh facets so that they are not visible in the resulting surface.
The images below illustrate the differences between the smooth and faceted options when applying meshes to reliefs.
The Application Methods for applying mesh to relief are the same as the common tool parameters used by EnRoute relief tools.
Vertical Positioning
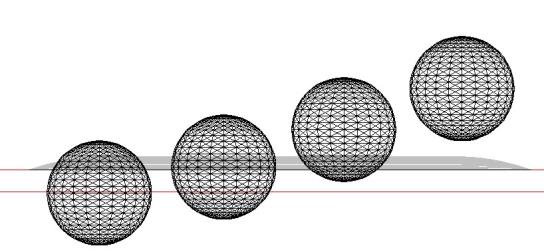
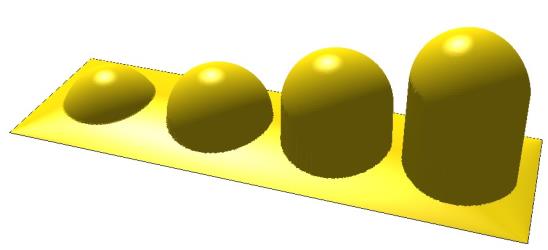
Z axis positioning is important when applying a mesh to a relief. The vertical location of the mesh controls how much the relief is modified. The images below demonstrate how the position of a sphere mesh with respect to a relief surface changes the resulting relief.
Using a Mask
Utilize a closed contour to mask off a section of a mesh to be applied to a relief and ignore the remainder of the mesh.
The following image shows a base relief, a large 3D mesh of a lion, and a ellipse acting as a mask. All three must be selected before activating the Apply to Relief command to successfully use the mask.
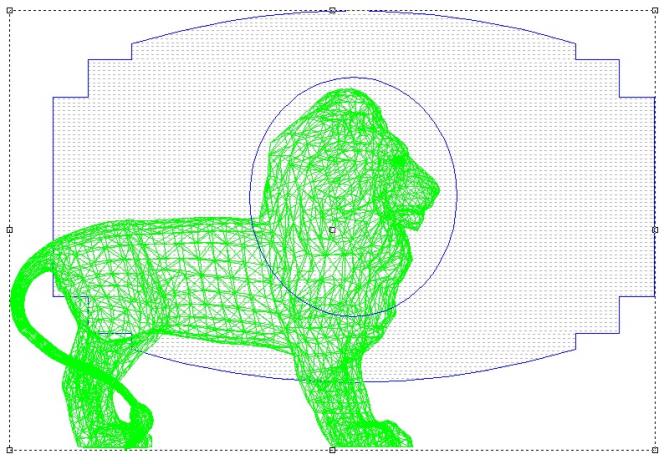
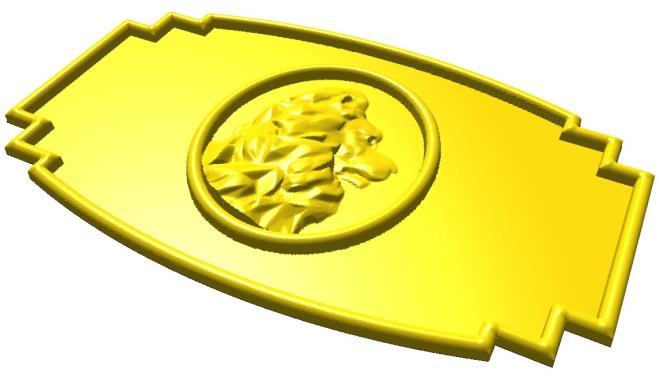
When the Apply to Relief command is executed, only the masked portion of the lion is added to the relief.
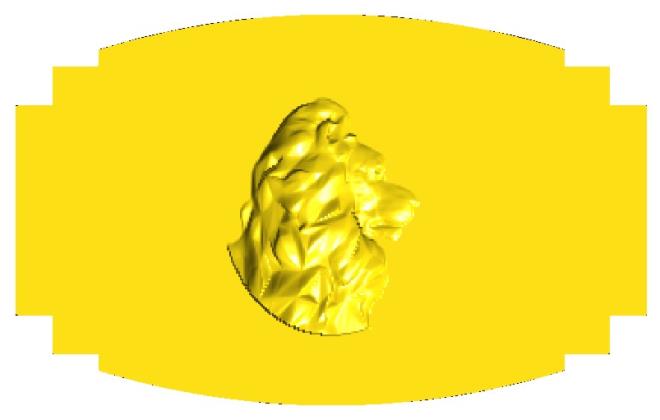
The completed design with added borders show how including a portion of a mesh using a mask can be a useful tool.
